How to Use a Photo to Text Tool for Efficient Content Creation
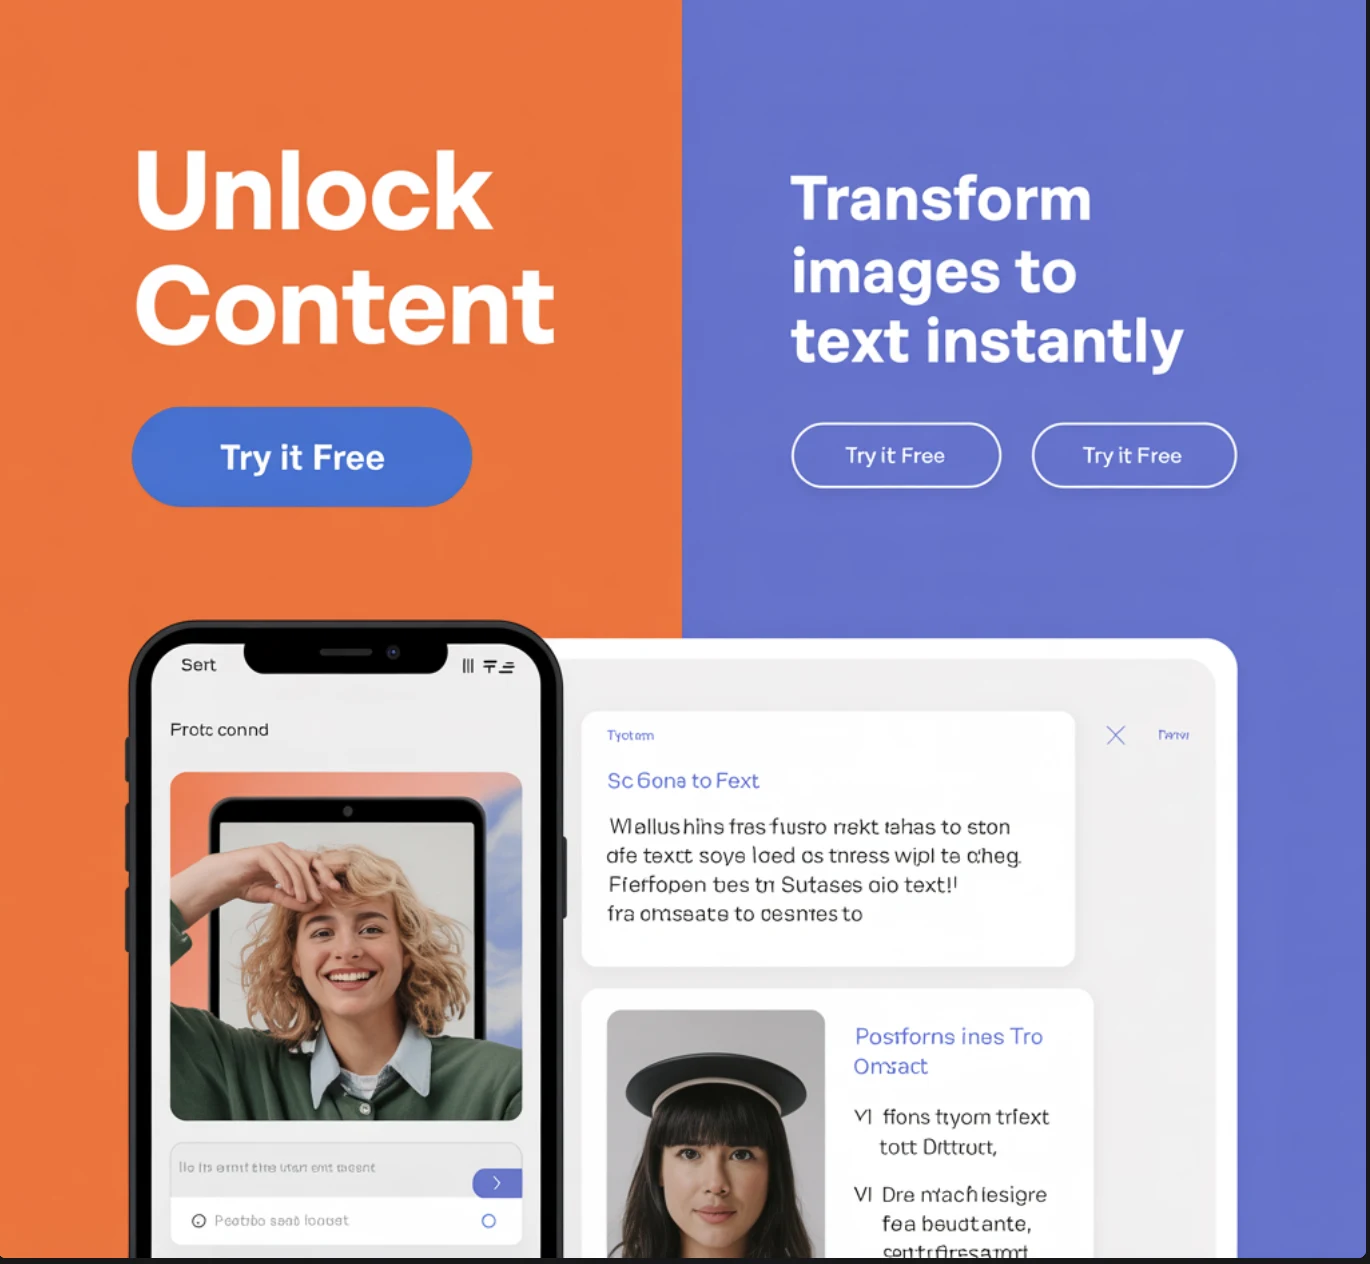
As content creators, we're continually seeking ways to produce high-quality content quickly and efficiently. One powerful tool that can significantly improve your workflow is a photo-to-text tool (also known as an image-to-text extractor). This tool lets you to convert text from images into editable digital text, saving you time and effort. Whether you're working with printed documents, handwritten notes, or screenshots, a photo-to-text tool can make content creation seamless.
In this article, we'll walk you through a step-by-step process to use an image-to-text extractor effectively, ensuring you can manage your content creation efficiently. We'll also provide examples, tips for best results, benefits, and answers to common questions.
Step 1: Choose the Right Tool
The first step in using a photo-to-text tool is selecting one that meets your needs. With so many options available, it's important to pick a reliable tool to ensure accurate results.
- How to Find a Tool: Start by searching on Google for terms like "photo to text converter" or "photo-to-text tool." You'll find numerous platforms offering this service, such as Google Lens, Adobe Scan, Microsoft OneNote, or dedicated online tools like OCR.Space and Tesseract-based apps.
- What to Look For: Choose a tool with positive reviews, high accuracy, and support for your language. Some tools offer free versions, while others may require a subscription for advanced features like batch processing or handwritten text recognition.
- Example: Suppose you're a blogger who frequently extracts text from printed articles. You search for "best image-to-text converter 2025" and find that OCR.Space has excellent reviews for its accuracy and ease of use. You decide to try its free version.
By selecting a trusted tool, you set the foundation for a smooth and efficient text extraction process.
Step 2: Prepare Your Photo
The quality of your photo directly affects the accuracy of the text extraction. Before uploading your image to the tool, take a moment to ensure it's optimized for conversion.
- Ensure Clarity: Make sure the text in the image is sharp and legible. Avoid blurry or pixelated images.
- Text Visibility: The text should be prominent and not obscured by objects, shadows, or reflections.
- Lighting Conditions: Capture the photo in a well-lit environment to avoid dark or unevenly lit areas. Natural daylight or bright indoor lighting works best.
- High-Quality Capture: Use a camera or smartphone that produces high-resolution images. Most modern smartphones with at least a 12MP camera will suffice.
Example
Suppose you're a social media manager tasked with extracting a quote from a printed flyer for a promotional post. You take a photo of the flyer using your smartphone. Before snapping the picture:
- You place the flyer on a flat surface with a plain background (like a white table).
- You turn on your room's overhead light and open a window for natural light, ensuring there are no shadows.
- You hold your phone steady to avoid blur and capture the image in high resolution.
This preparation ensures the photo-to-text tool can accurately recognize the text, minimizing errors during extraction.
Step 3: Upload and Convert
Now that your photo is prepared, it's time to upload it to the photo-to-text tool and extract the text.
- Upload the Image: Most tools allow you to drag and drop the image or click an "Upload" button to choose the file from your device. Some mobile apps (like Google Lens) let you directly scan the image using your camera.
- Adjust if Needed: Some tools offer options to crop, rotate, or enhance the image before conversion. For example, you might adjust brightness or contrast to make the text stand out more.
- Start the Conversion: Click the "Convert" or "Extract" button to initiate the process. The tool will use Optical Character Recognition (OCR) technology to analyze the image and convert the text into a digital format. This normally takes a few seconds, depending on the image size and tool.
Example
Continuing with the social media manager scenario, you open OCR.Space in your browser, click the "Choose File" button, and upload the photo of the flyer. The tool offers an option to crop the image, so you trim away unnecessary borders to focus on the quote. You then click "Start OCR," and within 5 seconds, the tool displays the extracted text:
"Unlock your potential with our exclusive workshop on digital marketing!"
This quick process allows you to extract text from multiple images in a short time, making it ideal for bulk content creation tasks.
Step 4: Edit and Format the Text
While photo-to-text tools are highly accurate, they're not perfect. It's essential to review the extracted text for errors and format it to meet your content standards.
- Check for Errors: Compare the extracted text with the original image to identify spelling mistakes, missing punctuation, or misinterpreted characters (e.g., a "1" might be mistaken for an "I").
- Correct Mistakes: Edit any errors manually. Most tools provide the extracted text in an editable format, so you can make changes directly.
- Format the Text: Adjust the formatting to match your project's style. For example, you might need to add bold or italic styles, fix line breaks, or adjust spacing to align with your blog or social media post requirements.
Example
After extracting the quote from the flyer, you notice that the tool misread "workshop" as "worksh0p" (mistaking the "o" for a "0"). You correct this error and add formatting to make the quote bold for your Instagram post:
"Unlock your potential with our exclusive workshop on digital marketing!"
You also add a line break and include a call-to-action:
"Unlock your potential with our exclusive workshop on digital marketing!
📅 Join us this Saturday!
This step ensures the extracted text is polished and ready for use in your content.
Step 5: Use the Text in Your Content
With the text edited and formatted, you're ready to incorporate it into your projects. The extracted text can be used across various platforms and formats, depending on your content needs.
- Copy and Paste: Simply copy the text and paste it into your preferred platform, such as a writing tool (e.g., Google Docs, Microsoft Word), a blog post editor (e.g., WordPress), or a social media scheduling tool (e.g., Buffer).
- Enhance the Content: Add extra details, rephrase the text, or combine it with other elements (like images or links) to suit your project's goals.
- Reconstruct if Needed: You can completely rewrite the extracted text to align with your brand voice or content strategy.
Example
For your Instagram post, you paste the edited quote into your social media tool, pair it with a vibrant image of the workshop venue, and add hashtags:
"Unlock your potential with our exclusive workshop on digital marketing!
📅 Join us this Saturday!
#DigitalMarketing #Workshop #UnlockYourPotential
You schedule the post for optimal engagement. Additionally, you use the same quote in a blog post about upcoming events, expanding it with details about the workshop agenda and registration process.
This flexibility allows you to repurpose the extracted text across multiple channels, maximizing your content output.
Tips for Best Results
To ensure the best performance from your photo-to-text tool, keep these tips in mind:
- Use Clear Images: Always ensure the text is sharp and legible. Avoid blurry or low-resolution images.
- Good Lighting: Take photos in well-lit environments to prevent shadows or dark spots that can interfere with text recognition.
- Simple Backgrounds: Use plain backgrounds to avoid distractions. A cluttered background can confuse the OCR tool and lead to errors.
- Review Output: Always double-check the extracted text for accuracy. Even the best tools can make errors, especially with complex fonts or handwritten text.
- Experiment with Tools: Different tools have varying strengths. For example, Google Lens excels with printed text, while Adobe Scan might be better for handwritten notes. Test a few options to find the one that works best for your needs.
Benefits of Using a Photo-to-Text Tool
Incorporating a photo-to-text tool into your content creation process offers several advantages:
- Time-Saving: By eliminating the need for manual typing, you can focus on brainstorming ideas and crafting compelling content.
- Accuracy: Modern OCR tools accurately capture text from a variety of sources, including printed documents, handwritten notes, and digital screenshots.
- Versatility: These tools can handle diverse inputs, such as books, flyers, business cards, or online images, making them suitable for various content creation tasks.
- Efficiency: The ability to quickly convert and edit text speeds up your workflow, allowing you to produce more content in less time.
For instance, a content creator working on a research article can use a photo-to-text tool to extract quotes from a scanned journal page in seconds, rather than typing them out manually. This efficiency frees up time to focus on analysis and writing.